


This is a lesson on “space art”, that students completed as part of our inquiry into Outer Space. The class has been looking at amazing pictures from the Hubble telescope and other sources, and some children wondered why planets are different colours.
In creating this art, our learning intentions were to:
- blend pastel colours smoothly
- use shading to show a light source and shadows.
Each child started by making five or six circles on black paper, tracing around objects in the classroom. The biggest shapes were made using the bottom of a yoghurt pot we keep markers in, the smallest shapes were glue-stick lids. My coffee mug featured a few times too!
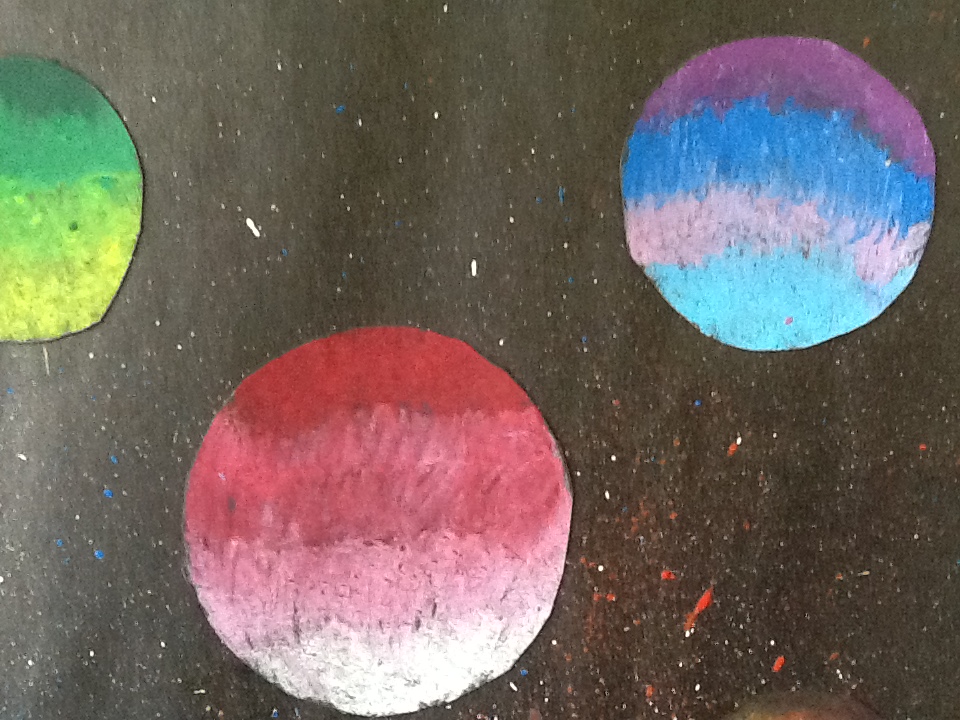
Next, children used pastel sticks and coloured the circles to represent different planets. I modelled how to use successively darker shades, blending the layers gradually. Some children chose to recreate images of planets they found in books and online, others were done from imagination. The planets were cut out carefully and kept together using a peg and name label.
We took another piece of black paper outside and flicked on red, white, yellow and blue acrylic paint using toothbrushes (super cheap from the $2 shop). We were making outer space backgrounds that represented the exploding stars, nebula and other phenomena we saw on the Hubble images.
When the background was dry, we arranged our planets and glued them on. Finally, to frame the art, we chose a coloured background that complemented the colours of our planets.
I created the ‘spaceman’ image, combining a photograph of a NASA astronaut and my own shading of craters on the moon’s surface.


These are amazing!!
LikeLike
Thanks Dawn. It was a fun project! The wall display looks fabulous too – I’ve noticed several kids just standing and gazing at the collection.
LikeLike
These are awesome!! Thanks so much for bringing these in to share with us today.
LikeLike